A Contractor Tool Storage Container Example
A contractor tool storage container example is most useful when it reflects the way a real crew moves through a job site. The container is not simply a locked box for tools. It becomes the site’s receiving point for deliveries, secure storage for high-value equipment, and a controlled place to issue consumables at the start of each shift.
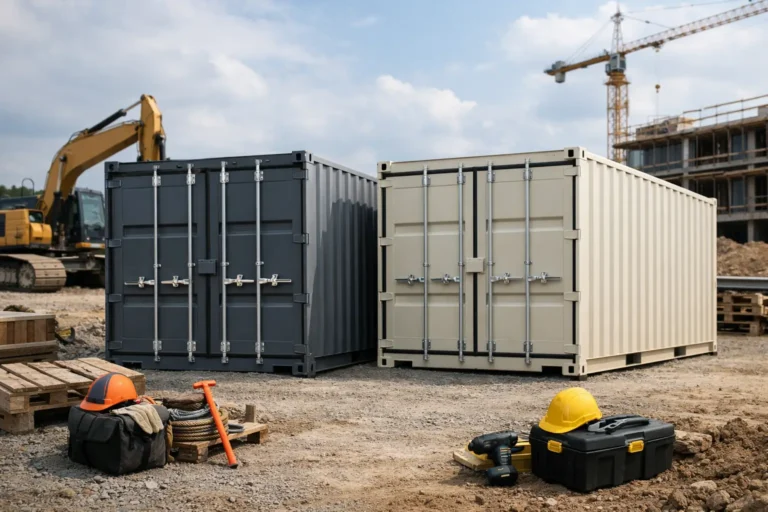
Consider a general contractor running a six-month commercial renovation. The crew needs to secure cordless tools, generators, extension cords, fasteners, PPE, ladders, and replacement materials without making daily trips back to a warehouse. A properly selected 40-foot shipping container can handle that workload while keeping inventory dry, accessible, and out of sight after hours.
The Job-Site Storage Container Example
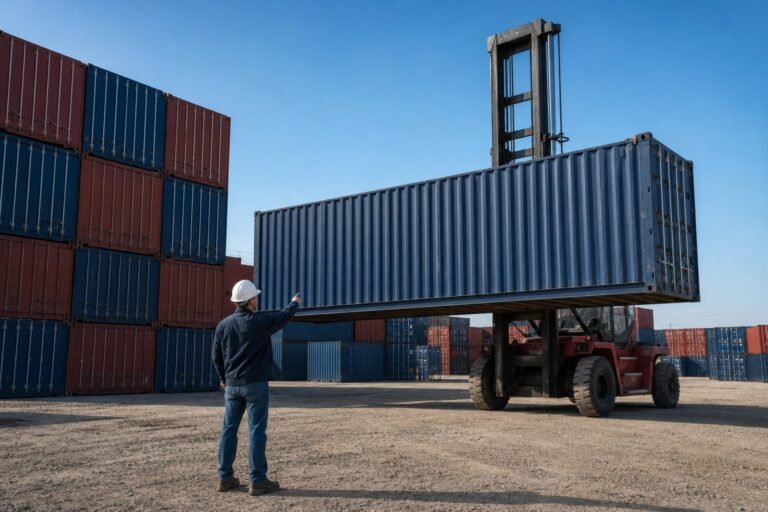
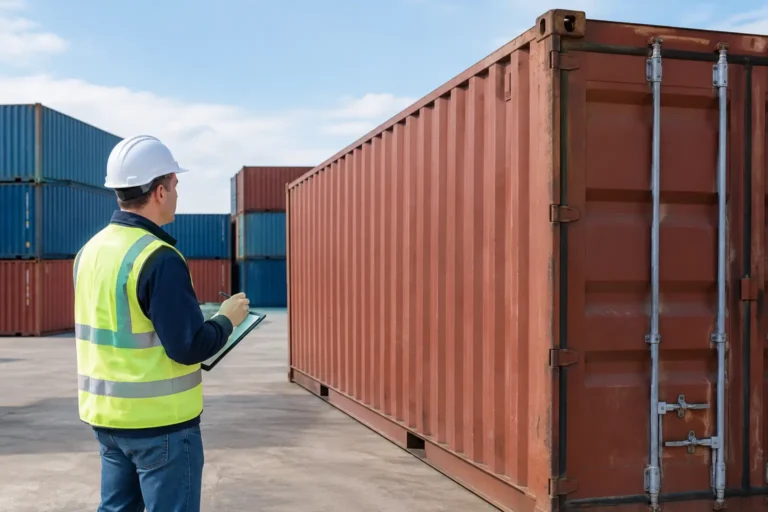
For this example, the contractor selects a 40-foot standard-height used shipping container in Wind & Watertight, or WWT, condition. The container is approximately 40 feet long, 8 feet wide, and 8 feet 6 inches tall externally. It provides roughly 300 square feet of floor area and enough volume to separate large equipment from smaller, frequently issued tools.
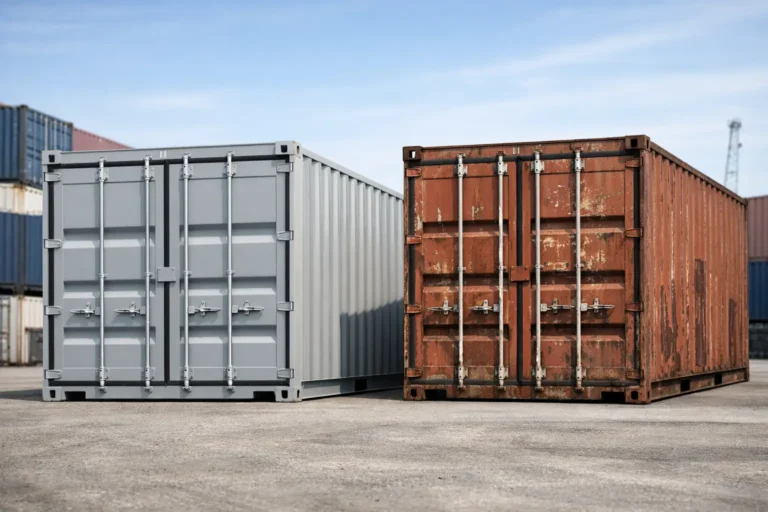
WWT is often the practical choice for job-site storage. A Wind & Watertight container should have a sound roof, functioning cargo doors, and a weather-resistant shell suitable for protecting tools and materials from normal outdoor exposure. It may show surface rust, prior repairs, dents, or cosmetic wear. Those appearance issues are common with used containers and do not automatically reduce its value as a secure storage unit.
If the contractor expects to transport the container by rail or ocean freight later, Cargo Worthy condition may be the better specification. Cargo Worthy containers are structurally suitable for international shipping when properly certified. For a container that will remain on one job site, paying for that level of certification is not always necessary. The right grade depends on the intended use, not just the best-looking unit available.
A practical interior layout
The first 10 to 12 feet near the cargo doors is left open as a receiving and staging zone. Palletized deliveries of fasteners, fittings, or boxed fixtures can be set down quickly with a forklift. This open area also gives the foreman room to check quantities before products are moved to their assigned location.
Along one side wall, the contractor installs heavy-duty shelving for bins, small power tools, adhesives, blades, anchors, and PPE. Labeled bins reduce the time spent looking for supplies and make it easier to identify missing inventory. The opposite wall holds vertical racks for extension cords, hoses, shovels, brooms, and long-handled tools.
The back section stores higher-value equipment such as rotary hammers, lasers, welders, generators, and battery charging stations. Equipment is placed on raised pallets or low racks rather than directly on the container floor. This protects cases from standing water tracked in during rain and allows the crew to sweep out debris.
A central aisle should remain clear from the doors to the rear wall. In a 40-foot container, a 36-inch to 48-inch aisle gives workers access without turning the interior into a maze. The goal is not to fill every cubic foot. A crowded container creates damaged inventory, slows morning dispatch, and makes it harder to see whether expensive tools have been returned.
Security Starts With the Container and the Site
A shipping container is built from Corten Steel, a durable weathering steel designed for demanding transport environments. Its cargo doors are substantially more secure than the doors on a typical shed, but the locking method still matters. A lockbox is one of the most valuable additions for a contractor storage container.
A lockbox is a welded steel enclosure around the padlock area. It limits access to the lock shackle and makes common cutting attacks more difficult. Pair it with a quality puck lock or shielded padlock designed for container use. The container’s factory lock rods should also be inspected to confirm both cargo doors close and seal correctly.
Security should extend beyond the doors. Position the container where it is visible from the site office, entrance, or active work area when possible. Avoid placing it against a fence line or behind material stacks where someone can work unseen. Motion lighting, cameras, and a controlled key or access-code policy help reduce losses, especially on larger sites with multiple subcontractors.
For tools that are especially valuable or easily resold, use an interior lockable cage or cabinet. That creates a second layer of control without forcing the whole crew to wait for one person to open the container each time they need basic supplies.
Site Preparation Is Part of the Storage Plan
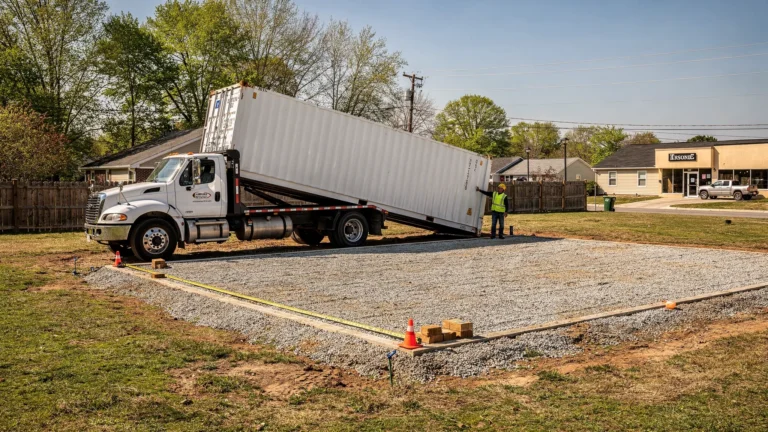
The container in this example is delivered on a compacted gravel pad with four level support points under the corner castings. The ground does not need a full concrete slab for a basic storage application, but it must be firm, reasonably level, and able to support the loaded container.
A 40-foot container can hold a significant amount of equipment and materials. If one end settles, the cargo doors can become difficult to operate and water may collect near the entry. Proper drainage around the pad matters as much as the pad itself. Keep water moving away from the container rather than allowing it to pool beneath the floor.
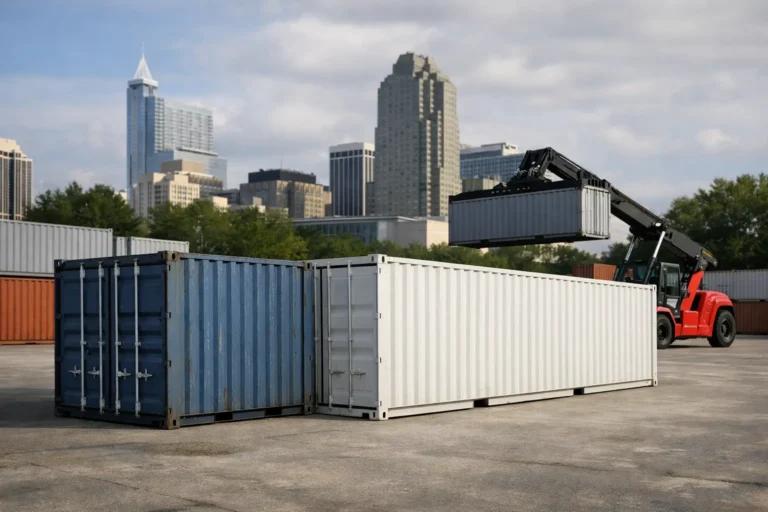
Before delivery, the contractor confirms truck access from the public road to the placement area. A 40-foot container requires room for the delivery truck to maneuver, space to set the unit down, and adequate overhead clearance from branches, utility lines, and structures. Tilt-bed delivery is common for ground-level placement, but the truck needs a clear path to roll the container off safely.
This is where clear delivery planning prevents expensive last-minute changes. Confirm the approach route, gate width, turning radius, slope, and final orientation before the truck is dispatched. Decide whether the cargo doors should face the work zone, the material receiving area, or a secured perimeter. Repositioning a container after delivery is possible, but it adds time and cost.
When a 20-Foot Container Is the Better Example
A 40-foot unit works well for a larger project, but it is not automatically the right choice. A 20-foot container is often a better fit for a residential renovation, a rural property, a smaller subcontractor crew, or a site with tight access. It offers about 160 square feet of storage and can still hold a well-organized tool inventory, especially when shelving is used effectively.
The trade-off is staging room. In a 20-foot container, large equipment and pallets can quickly block access to smaller tools. If the crew receives frequent deliveries or stores materials alongside equipment, a 40-foot container usually creates a safer, more efficient workflow.
High-cube containers deserve consideration when shelving, tall equipment, or interior workspace is part of the plan. A high-cube unit adds roughly one foot of exterior height. That extra vertical clearance can make a noticeable difference for tall rack systems, but it also requires careful review of delivery access and local height restrictions.
Avoiding Common Storage Container Mistakes
The most common mistake is buying based only on the lowest advertised price. The container grade, delivery method, lock condition, site access, and modifications all affect the real cost of putting secure storage into service. Clear pricing should explain what condition is being supplied and what delivery assumptions apply.
Another mistake is treating ventilation as optional. Tools and materials brought in wet, combined with temperature swings, can create condensation inside a sealed steel container. Passive vents, moisture control products, and a policy of drying wet equipment before storage can help protect metal tools, electrical gear, and boxed materials.
Finally, do not modify a container without considering its structural design. Cutting large openings for walk doors, windows, or roll-up doors can require reinforcement, particularly when modifications are close to corner posts or structural rails. For simple job-site tool storage, factory cargo doors plus organized interior storage are often the most cost-effective setup.
A well-planned container should make the crew’s day easier from the first morning on site. Start with the equipment you need to protect, the workflow you need to support, and the delivery conditions your site can actually accommodate. That approach produces a storage solution with no fine print, no surprises, and far fewer missing tools at the end of the day.