How to Place a Storage Container on Your Site
A storage container can arrive ready to work, but the ground beneath it determines whether it stays functional. A 20ft or 40ft container is built from Corten Steel and designed to carry heavy loads at its corner castings. It is not designed to bridge a soft, uneven backyard, a muddy job site, or a slope that channels water under the doors.
If you are researching how to place a storage container, start before ordering. The right site preparation protects the container’s frame, keeps the doors operating correctly, and gives the delivery driver a clear, safe path to complete the drop without delays or extra equipment.
Start With the Container’s Purpose and Location
Placement should match how the container will be used, not simply the first open area on the property. A contractor storing generators, tools, and job-site materials needs room for crews, forklifts, and vehicle traffic. An agricultural operator may need access for a tractor or trailer. A homeowner using a container for seasonal equipment needs doors that can open fully without blocking a driveway or gate.
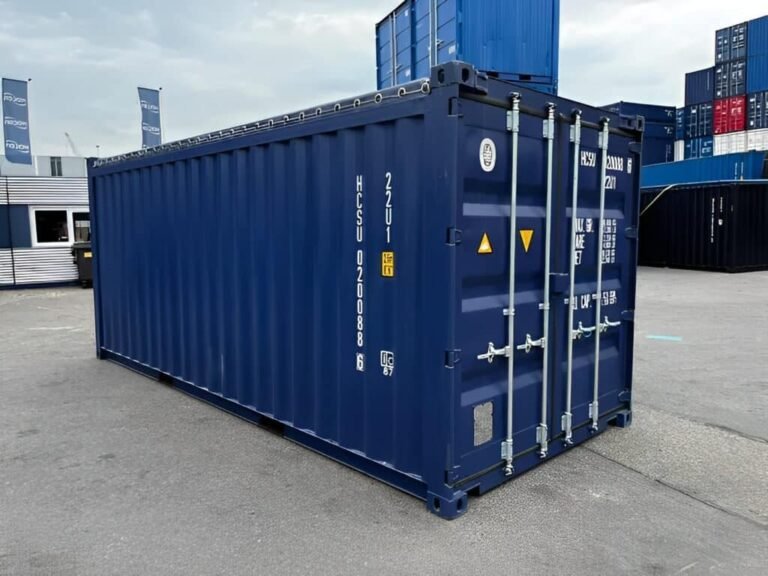
Think through the daily approach to the doors. Standard containers have cargo doors on one end, while tunnel containers have doors at both ends. Put the door end toward the direction of normal traffic. This sounds basic, but reversing the container after delivery is rarely easy without machinery.
Allow working room around the unit as well. You may need access to inspect the exterior, clear vegetation, paint the container, or install electrical service. A container tucked tightly against a fence line can create maintenance problems and make drainage harder to manage.
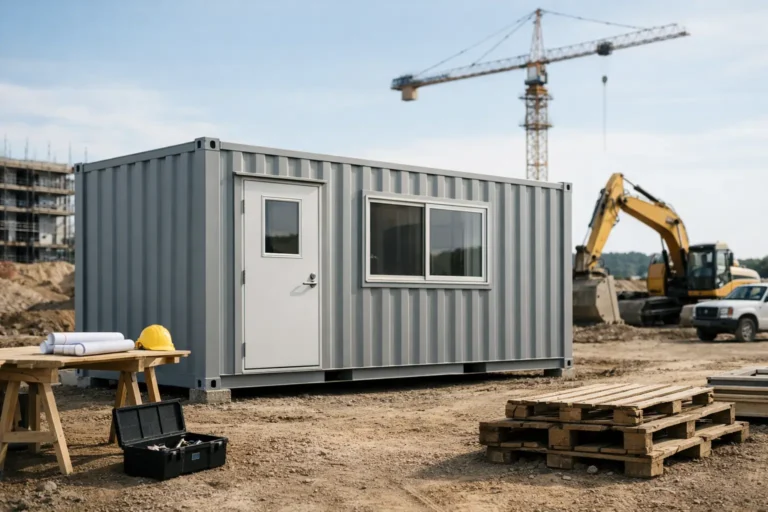
Before finalizing the location, confirm property lines, easements, utility corridors, HOA restrictions, zoning rules, and permit requirements. Rules vary by municipality and intended use. A temporary storage unit may be treated differently from a container converted into an office, workshop, or occupied structure.
How to Place a Storage Container on Stable Ground
The container’s corner castings carry the structural load. For that reason, a level, firm support system under the corners is more valuable than a perfectly smooth surface under the entire floor.
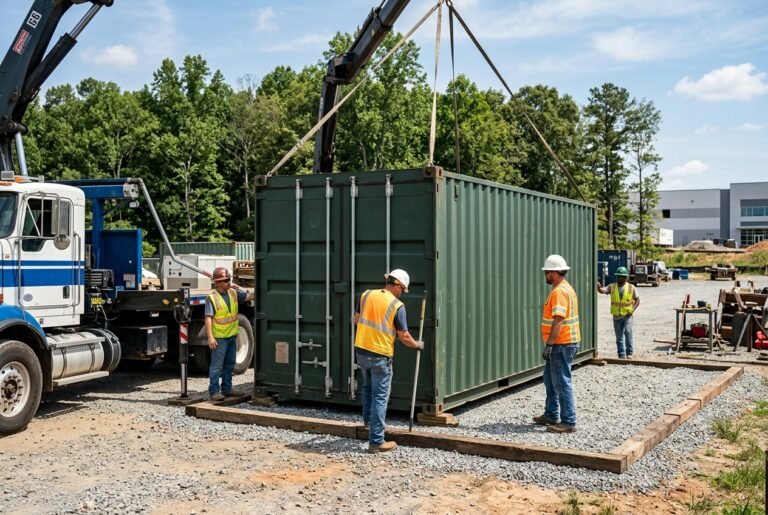
A compacted gravel pad is a practical choice for many residential, agricultural, and construction applications. It improves drainage, creates a clean perimeter, and spreads the load better than bare soil. The pad should extend beyond the container footprint so rainwater does not pool immediately along the side rails.
Concrete piers, precast blocks, or a full concrete slab can also work, depending on the site and intended use. For long-term placement, a slab or engineered foundation may be appropriate, particularly for an office conversion, retail space, or modular build. The foundation should be designed for local soil conditions and the final use of the structure.
Avoid setting a container directly on mud, loose fill, untreated timber, or ground that becomes saturated after rainfall. These surfaces can settle unevenly. When one corner drops, the container can twist slightly, causing door alignment issues. Doors that were easy to open on delivery day may become difficult to latch a few months later.
A slight slope for drainage is acceptable, but the container itself should be level side-to-side and close to level lengthwise. Water should move away from the site, not toward the door threshold. If the terrain slopes significantly, grading or a professionally designed foundation may be required rather than trying to compensate with random blocks.
Choose Supports That Will Not Shift
If you use blocks or piers, place them under all four corner castings. On longer containers, additional support under the side rails may be useful where soil conditions are questionable or where the container will carry unusually heavy, concentrated loads. Do not use loose stacked blocks, cracked concrete, or supports placed on soft soil.
Wood railroad ties are sometimes used as a low-cost base, but they are not the best answer for every site. They can rot, shift, and retain moisture. If timber is used, it should be treated, sound, and installed over a stable, well-drained base. For a long-term installation, gravel and concrete supports generally offer more predictable results.
Plan the Delivery Route Before the Truck Arrives
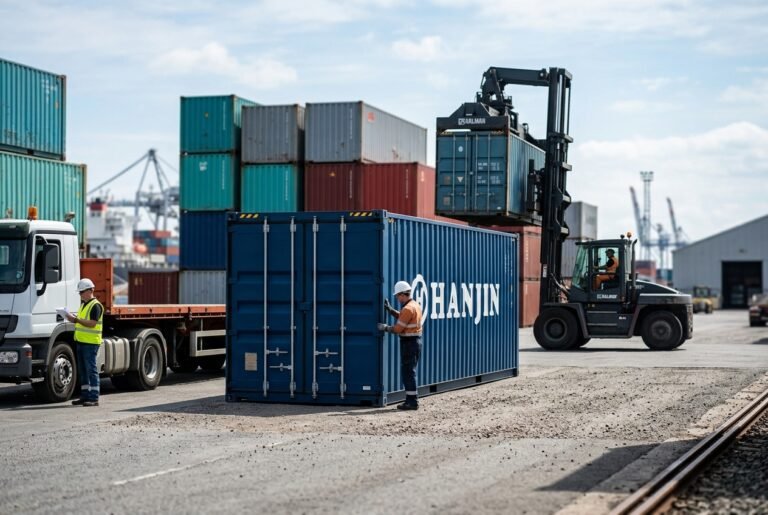
Container delivery is often the part customers underestimate. A container may fit on the selected pad yet still be impossible to deliver if the truck cannot safely reach it or maneuver into position.
Measure the full route from the road to the placement area. Check gate widths, driveway turns, overhead limbs, power lines, roof overhangs, culverts, soft shoulders, parked vehicles, and low-hanging communication lines. A 40ft container requires substantially more turning room and clearance than a 20ft unit. High-cube containers add height, which makes overhead clearance even more critical.
The delivery method matters. A tilt-bed truck uses a hydraulic bed to slide the container off the rear of the trailer. This method needs a long, straight approach and significant clear space behind the truck as the container comes down. The driver may not be able to place the unit around a sharp corner, between trees, or sideways into a narrow location.
Ground-level delivery equipment can offer more placement flexibility in certain situations, but it still needs stable ground and safe access. If the container must be lifted over a fence, positioned perpendicular to the driveway, or set in a restricted commercial site, a crane or other specialized equipment may be necessary. That changes both the planning and the cost.
Share accurate site photos, measurements, and a simple sketch of the intended location before scheduling delivery. A transparent logistics review helps identify constraints early, when they are inexpensive to solve. Clearing one branch or widening one gate before the truck is dispatched is far better than discovering the issue during the delivery window.
Keep Clearance for Doors, Roof Runoff, and Future Use
Container doors need more room than the container itself. The right-hand door usually opens first, followed by the left-hand door. Plan enough clear space for both doors to swing fully and for people or equipment to enter safely.
Roof runoff deserves equal attention. Shipping containers are Wind & Watertight when properly graded and maintained, but standing water around the base is never desirable. Grade the surrounding area away from the unit and keep tall grass, leaves, and debris from building up against the side rails. In wet areas, a gravel border and shallow drainage swale can make a meaningful difference.
Do not bury the container sides with soil or place it where runoff from a roof, hillside, or paved lot flows directly against it. Constant moisture can accelerate surface corrosion and make the site difficult to access. If you plan to add gutters, vents, solar equipment, shelving, or electrical conduit later, leave enough room now to install and service those additions.
For offices and modified containers, consider code-required setbacks, accessible entry, emergency exits, utility connections, and HVAC clearances before placement. Moving a standard storage container is one thing. Repositioning a finished container after wiring, insulation, and interior build-out is a much larger project.
Match the Container Grade to the Placement Plan
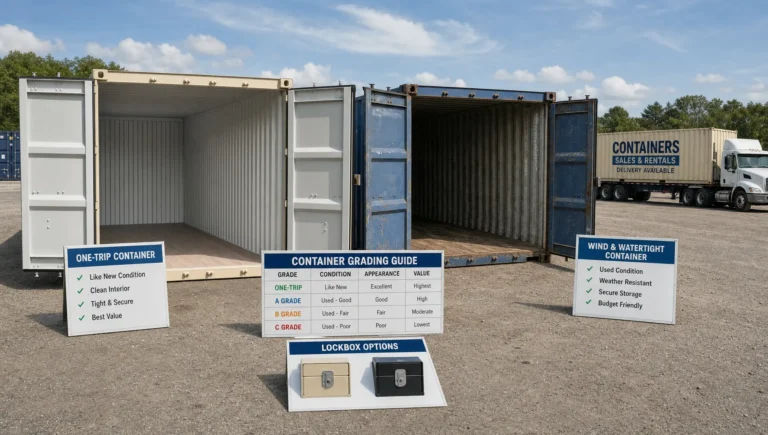
Site preparation and container condition work together. A one-trip container generally offers the cleanest exterior appearance and minimal prior wear, which can matter for retail, residential, and customer-facing locations. A used Cargo Worthy unit is structurally sound for international transport and often makes sense for secure job-site or farm storage. A Wind & Watertight container is a practical option when keeping contents dry is the priority and cosmetic wear is acceptable.
No grade eliminates the need for a stable base. Even a nearly new container can develop operational issues if it is set out of level. Conversely, a properly placed used container can provide years of reliable storage when its condition is accurately represented and its drainage is managed.
Before delivery, walk the route once more and remove movable obstacles. Mark the corners of the pad, confirm the door direction, and make sure no vehicles or materials are blocking the approach. A prepared site gives the driver room to work safely and gives your container the stable start it needs.
The best placement is rarely the closest empty spot. It is the location with firm support, dry drainage, usable access, and enough clearance to make the container useful every day after the delivery truck has left.