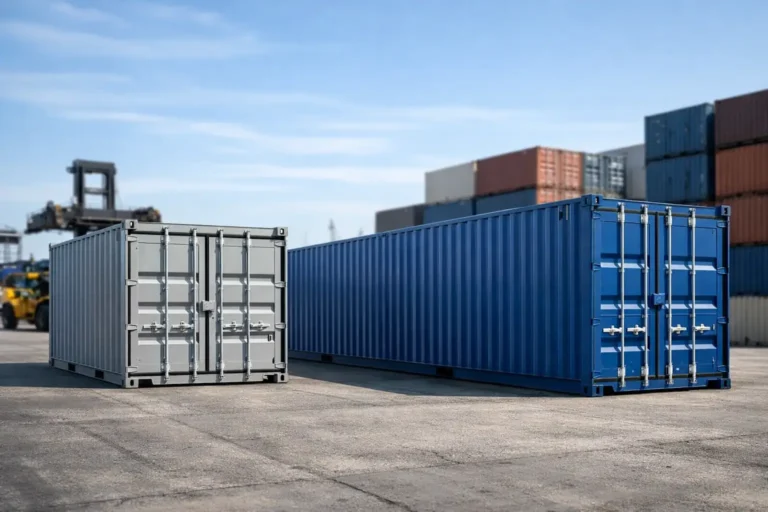
How to Vent Shipping Containers Without Weakening Them
A steel container can be Wind & Watertight and still develop damaging condensation inside. Temperature swings turn the interior of an unvented container into a moisture trap, especially when the unit holds tools, lumber, farm supplies, paper goods, or equipment with sensitive electronics. Knowing how to vent shipping containers starts with a practical goal: exchange stale, humid air without creating leaks, reducing security, or cutting into structural components.
For most storage applications, passive vents installed high on opposing walls are the most reliable answer. The right arrangement depends on your climate, the contents being stored, whether the container has power, and how often the doors are opened.
Why Shipping Containers Need Ventilation
Shipping containers are built from Corten steel and designed to protect cargo during ocean and overland transport. Their weather resistance is an advantage, but it also means moisture has limited paths to escape. Humid outside air can enter when doors are opened, while damp materials, wet equipment, and even pressure-treated lumber can release moisture after the container is closed.
When warm air meets a cooler steel roof or wall, condensation forms. This is often called container rain because droplets can collect overhead and fall onto stored items. Ventilation helps reduce the humidity buildup that causes this problem, but it is not a cure-all. In hot, humid regions, unrestricted airflow can also bring more moisture inside during parts of the day.
That is why a proper plan combines ventilation with a dry site, correct container grade, sensible loading practices, and, when necessary, moisture-control products or mechanical dehumidification.
How to Vent Shipping Containers Safely
The basic rule is simple: install purpose-built vents in non-structural wall panels, generally near the upper portion of the container and on opposite sides. This creates cross-ventilation while preserving the container’s main load-bearing members.
A standard 20-foot or 40-foot container has corrugated sidewalls, top rails, bottom rails, corner posts, and corner castings. The corner posts and rails are structural. Do not cut, drill large holes through, or modify these members for a vent installation. They carry stacking and handling loads and are not the place to solve an airflow problem.
For passive airflow, place one vent high on one sidewall and another high on the opposite sidewall. Positioning them toward opposite ends can improve air movement across a longer container. The exact number of vents depends on the use case. A lightly loaded 20-foot storage container may perform well with two quality vents. A 40-foot container holding moisture-sensitive inventory, or a unit converted into a workshop, may need additional vents or powered extraction.
Avoid placing vents where shelving, racking, or stored equipment will block them. Also consider the prevailing wind, nearby trees, dust sources, and whether one wall faces a driving rain exposure. Good placement is about more than cutting a hole where it is convenient.
Choose Vents Made for Steel Containers
Container vents should have a weather hood or louvered design that sheds rain while allowing air exchange. Models with insect screening are useful for rural properties, agricultural operations, and sites near wooded areas. Interior baffles and tamper-resistant fasteners provide another layer of protection where theft or vandalism is a concern.
Low-profile steel vents are usually the practical choice for secure storage. They are less vulnerable to impact than plastic options and can be installed with rivets, bolts, or a combination of mechanical fasteners and approved sealant. A vent may be small, but it still needs to withstand wind, rain, and years of outdoor exposure.
Roof-mounted turbine vents can move considerable air, but they are not the first choice for most ground-level storage containers. Cutting the roof creates a more demanding waterproofing detail and adds an exposed component that can be damaged during relocation. They make more sense for a permanently sited workshop or custom build when installed by an experienced fabricator.
Passive Vents vs. Powered Ventilation
Passive vents are usually sufficient for job-site storage, agricultural storage, and general household overflow. They have no electrical requirement, no moving parts, and minimal maintenance. For a container used only to store dry tools and materials, this is often the most cost-effective approach.
Powered ventilation is worth considering when the container is regularly occupied or generates heat and moisture. Examples include welding or fabrication spaces, battery and electrical equipment enclosures, generator-related applications, commercial inventory rooms with strict environmental needs, and container offices. An exhaust fan near the top of one wall, paired with a protected intake vent on the opposite wall, creates predictable airflow.
Mechanical systems need more planning than passive vents. The fan must be sized for the container volume and activity inside it, and wiring should be installed to applicable electrical codes. If fumes, fuel vapors, or combustible dust are present, a standard household fan may be unsafe. This is a situation for qualified HVAC and electrical professionals, not a basic do-it-yourself modification.
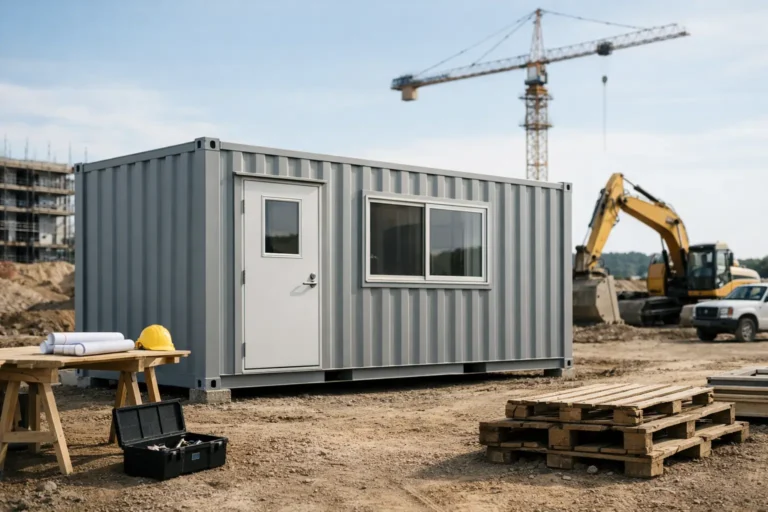
Air conditioning is also not a substitute for proper ventilation. An air-conditioned container needs a sealed, insulated envelope and correctly sized equipment. Bringing uncontrolled outside air through large passive vents can increase the cooling load and make humidity control harder. For office and living-space conversions, the ventilation design should be part of the full HVAC plan.
Installation Details That Prevent Leaks and Rust
A clean vent cutout protects the container better than a rushed one. Before work begins, inspect both sides of the chosen wall area. Confirm there are no interior electrical runs, insulation assemblies, wall framing, or planned modifications behind the panel. On a used unit, remove loose surface rust and verify that the panel itself is sound.
Mark the vent opening using the manufacturer template, keeping clear of the vertical corrugation transitions and structural rails. Cut only the opening required for the vent flange. A professional fabricator may use a plasma cutter, nibbler, or cutting wheel depending on the vent style and wall condition. The objective is a precise opening with minimal heat distortion.
After cutting, remove burrs and immediately coat every exposed steel edge with a compatible rust-inhibiting primer and touch-up paint. Corten steel develops a protective patina in normal service, but freshly cut edges still need attention. Skipping this step can leave an otherwise sound container with a rust point around the new opening.
Install the vent using the specified fasteners and a quality exterior-grade sealant or gasket system. The fastener pattern should be even, with no gaps at corners or along the upper flange where water can work behind the vent. Test the installation after curing by checking the interior during a controlled hose test or after a heavy rain.
If the container has plywood flooring and you are installing low-wall intake vents, take care not to create a route for standing water to reach the floor. A container should sit on a stable, well-drained base with adequate clearance below the frame. Proper site preparation does as much for long-term moisture control as the vents themselves.
Moisture Control Beyond Vents
Ventilation works best when the contents are dry before they enter the container. Do not close up wet landscaping equipment, rain-soaked lumber, damp cardboard, or recently washed machinery without allowing it to dry first. Keep goods elevated on pallets or shelving so air can circulate below them and so minor floor moisture does not transfer directly into inventory.
For high-value tools, documents, electronics, or packaged products, use desiccant dehumidifiers or an electric dehumidifier if reliable power is available. A hygrometer is a low-cost way to see whether humidity is actually under control. Without a reading, it is easy to assume a venting change solved the issue when the internal humidity remains too high.
Insulation can reduce condensation on the interior steel surface, particularly for workshop, office, and residential conversions. However, insulation must be designed to avoid trapping moisture against the steel shell. Closed-cell spray foam, properly detailed rigid insulation, and framed interior assemblies each have different benefits and risks. The right approach depends on whether the container remains simple storage or becomes conditioned occupied space.
Consider the Container Type and Condition
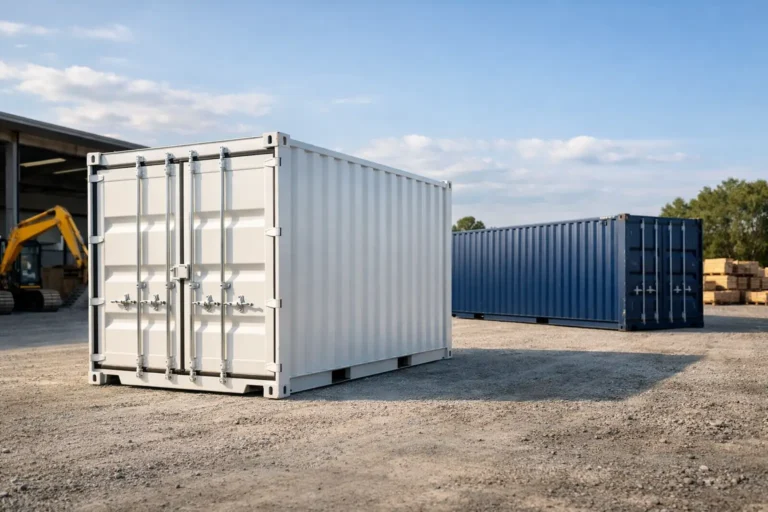
A standard dry container is the usual platform for vent modifications. A one-trip container often provides the cleanest starting point because its steel, door seals, and flooring have had minimal use. A used Wind & Watertight container can also be an excellent storage solution, provided its condition has been verified and any repairs are addressed before modifications begin.
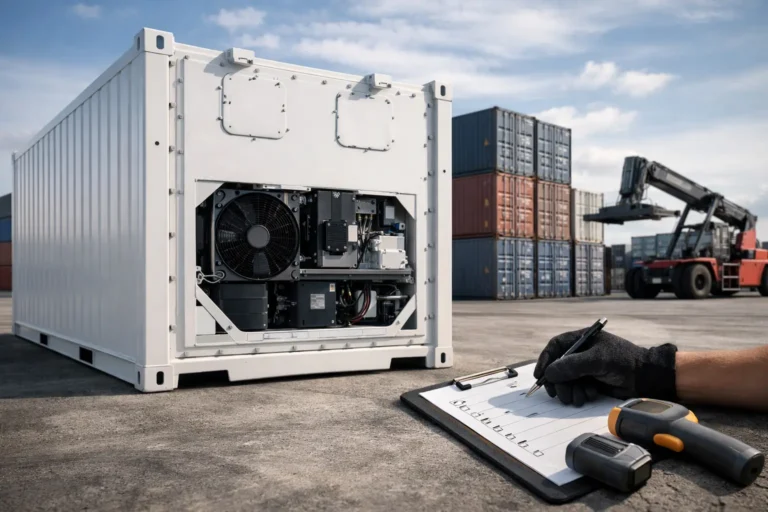
Refrigerated containers are different. Their insulated panels, refrigeration openings, and interior construction require specialized assessment before adding vents. Similarly, open-top and tunnel containers have different airflow behavior and security considerations. Do not apply a standard sidewall vent plan to a specialty unit without reviewing its construction.
For contractors and property owners, the practical target is not maximum airflow. It is controlled airflow that protects the container’s security, weather resistance, and structural integrity. Start with a dry, properly positioned container, use purpose-built vents in non-structural panels, and monitor humidity after installation. A small amount of careful planning now can prevent rusted tools, damaged stock, and a costly modification later.