Shipping Container Workshop Setup That Works
A shipping container workshop setup succeeds or fails before the container reaches your property. A 40-foot unit can become a secure, efficient space for welding, equipment repair, woodworking, fabrication, or farm maintenance, but only if the site, structure, utilities, and workflow are planned together. Buying a container first and solving the rest later often leads to blocked doors, poor lighting, overheated interiors, and delivery charges that could have been avoided.
For contractors and property owners, the goal is simple: create a durable workspace with verified specifications, a realistic installation plan, and enough room to work safely. That starts with choosing the right container condition and footprint for the job.
Start With the Work, Not the Container
List the equipment that must live and operate inside the workshop. Include bench space, tool storage, aisle clearance, material handling, and the path a large item takes from the door to the work area. A container is strong and secure, but its interior is narrow. Standard containers are about 7 feet 8 inches wide inside, while a 40-foot standard-height unit offers roughly 7 feet 10 inches of interior height. A high-cube container adds about one foot of height, which matters when installing overhead storage, a vehicle lift component, dust collection, or tall machinery.
A 20-foot container is often a practical choice for a compact repair station, a job-site tool room, or a dedicated welding bay. A 40-foot unit gives more usable separation between storage and active work. If your operation requires a long workbench, palletized inventory, or a defined clean and dirty side, the 40-foot layout usually prevents congestion.
Do not assume the largest container is always the best value. A larger unit needs a longer level pad, more delivery clearance, and potentially more electrical and lighting work. The right size depends on how often people, materials, and equipment must move through the space.
Choose a Container Grade That Fits a Workshop
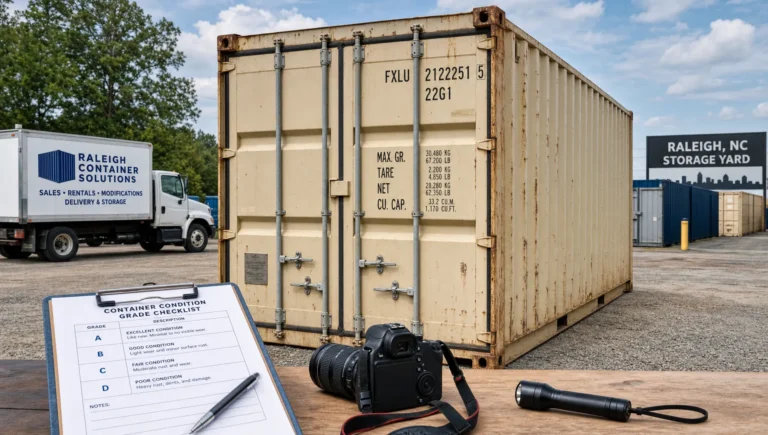
Container condition affects both appearance and modification costs. A one-trip container has made a single loaded journey from its manufacturer. It generally has cleaner paint, fewer dents, and a more uniform appearance, making it a sensible option for a customer-facing workshop or a long-term residential installation.
A used Wind & Watertight, or WWT, container is commonly suitable for secure storage and basic workshop use. WWT means the unit is intended to keep wind and water out, but it may show cosmetic dents, surface rust, patches, and prior shipping wear. For many construction yards and agricultural properties, those marks do not affect the container’s practical value.
Cargo Worthy containers meet a higher inspection standard for international transport and may be useful when structural documentation or future shipping use is a concern. For a stationary workshop, however, Cargo Worthy is not automatically necessary. Ask for clear grading information, current photos when available, and confirmation that the doors, roof, floor, and corner castings are in serviceable condition. No fine print and no surprises is a better standard than paying for a grade you do not need.
Build the Foundation Around Drainage and Access
Shipping containers are engineered to carry load through their corner castings. That does not mean they should sit directly on soft soil. An uneven site can twist the frame, make cargo doors difficult to operate, and create water problems beneath the floor.
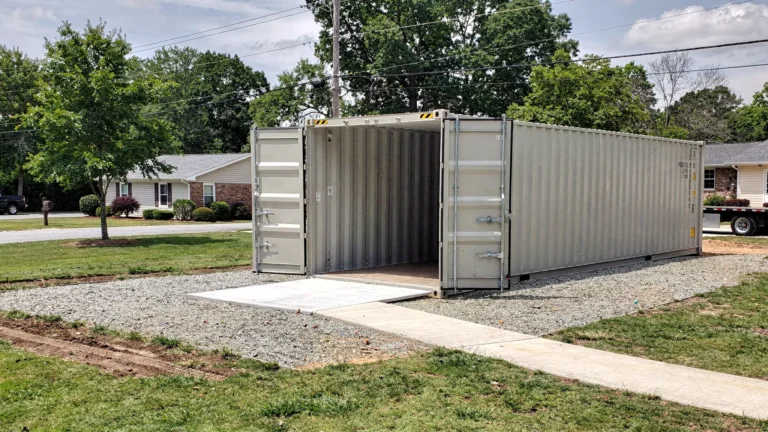
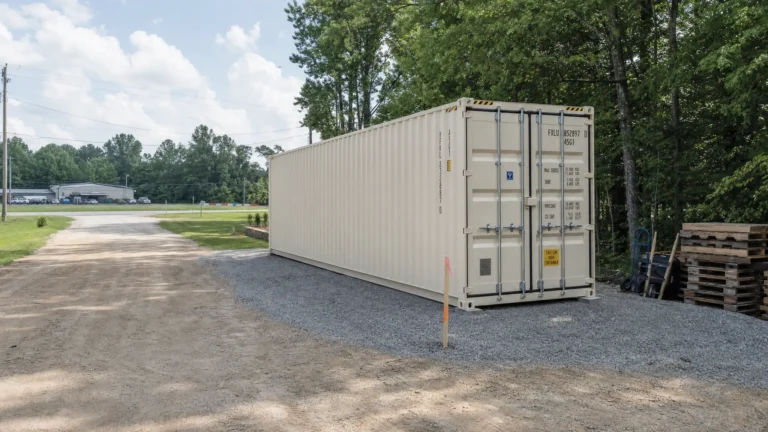
For a basic ground-level workshop, a compacted gravel pad with properly placed concrete blocks or piers can work well when soil conditions and local requirements allow it. The container should be supported at all four corners, level from end to end, and positioned so water drains away from the unit. Many permanent installations benefit from a concrete slab, piers, or engineered foundation, particularly where heavy machinery, frequent vehicle traffic, or local building requirements apply.
A container floor is typically marine plywood over steel crossmembers. It is durable, but it is not a substitute for a shop slab if you expect rolling machine loads, major point loads, or regular vehicle service. In those cases, consider placing the container beside the main work slab for secure storage, electrical equipment, tools, and enclosed bench work.
Before delivery, verify the approach route. A tilt-bed truck needs room to back in and slide the container off the trailer. Ground-level delivery is efficient, but it requires clear overhead space, firm access, and enough straight-line distance to position the unit. Low limbs, soft shoulders, tight gates, and utility lines are common problems. Confirm access before scheduling rather than trying to solve it with the driver on delivery day.
Plan Power, Lighting, and Ventilation Before Modifying Steel
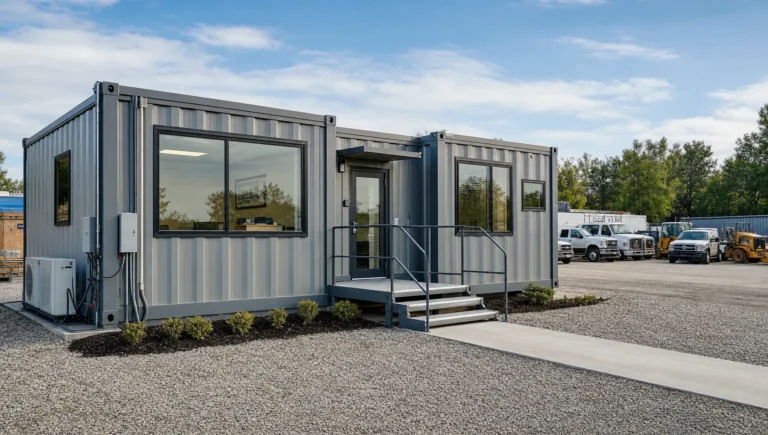
A workshop needs more than a container and a pad. Electrical service should be planned around actual loads, not only general lighting. A few LED fixtures and battery chargers may need a modest circuit, while a welder, air compressor, dust collector, plasma cutter, or HVAC unit can change panel size, wiring, and service requirements substantially. A licensed electrician can determine the appropriate feeder, grounding, outlets, disconnects, and local code requirements.
Use bright LED fixtures distributed along the work area rather than relying on one central light. Place outlets above bench height and provide dedicated circuits for equipment with high startup loads. Exterior lighting near the doors improves security and makes early-morning or late-day access safer.
Ventilation is not optional for welding, painting, fuel-powered equipment, solvents, or woodworking dust. A container’s Corten steel shell is intentionally enclosed, so heat and fumes can build quickly. Passive vents can reduce moisture and stagnant air, but powered exhaust and properly sized makeup air are often needed for active work. For welding or finishing, use task-specific fume or dust collection rather than assuming a roof vent will protect the work area.
Cutting openings for windows, personnel doors, vents, or roll-up doors should be handled carefully. The side walls contribute to the container’s structural system. Larger openings may require steel reinforcement framing to maintain rigidity. Plan all penetrations before insulation and interior wall finishes go in, because retrofitting them later costs more and disrupts completed work.
Design the Interior for Safe Movement
The most useful workshop layouts keep heavy storage close to the cargo doors and reserve the center aisle for movement. Put frequently used hand tools and hardware at bench height. Store long materials along one wall, but protect enough width for a cart, mower, welder, or pallet jack to pass without turning every job into a rearranging exercise.
For a 20-foot unit, a single continuous bench on one side with shallow shelving on the other usually preserves a workable aisle. In a 40-foot container, consider zones: incoming materials near one end, fabrication or repair in the middle, and secured tools or parts at the opposite end. A personnel door can improve daily access, while cargo doors remain valuable for moving large equipment.
Insulation depends on the climate and how the space will be used. In North Carolina and much of the Southeast, an uninsulated steel container can become very hot in direct sun and can develop condensation when interior and exterior temperatures change. Closed-cell spray foam offers strong moisture control and insulation value, but it reduces interior dimensions and should be installed by qualified professionals. Mineral wool with a framed interior wall is another option where fire resistance and service access are priorities. Any wall system should account for condensation control, wiring routes, and the need to inspect for leaks.
Account for Permits, Fire Safety, and Security
A container workshop may trigger zoning, setback, permit, electrical, or occupancy requirements. Rules vary by county, municipality, property type, and whether the container is treated as storage, an accessory structure, or an occupied workspace. Check these requirements before delivery, especially if you plan permanent utilities, plumbing, customer access, or structural modifications.
Keep fire extinguishers accessible near exits, store flammables in approved cabinets where required, and avoid blocking both cargo doors and personnel exits. If welding or grinding is part of the operation, protect surrounding materials from sparks and provide a clear hot-work area. A container is secure by design, but security improves with lock boxes, quality padlocks, door alarms, exterior lighting, and a location visible from the main building when practical.
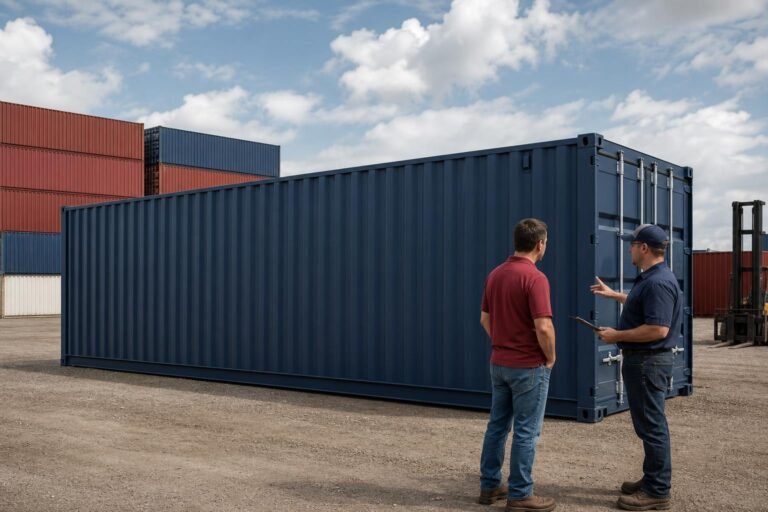
Lease Lane Containers helps customers match container size, condition, and delivery method to the site before the truck is dispatched. That planning is especially valuable when a workshop must arrive ready for electrical work, modification, or immediate job-site use.
A well-planned container workshop does not need unnecessary upgrades. It needs a level site, verified container condition, safe utility planning, and a layout that supports the work you do every week. Make those decisions before delivery, and the container becomes a dependable work asset rather than another project waiting for time and money.