How to Place a Reefer Container Right
A reefer container can solve a cold storage problem fast, but only if the placement is right the first time. If you are figuring out how to place reefer container equipment on a job site, farm, retail lot, or private property, the real challenge is not just finding open space. It is making sure the unit can be delivered safely, powered correctly, ventilated properly, and serviced without creating avoidable costs later.
Unlike a standard storage container, a reefer has mechanical and electrical requirements that affect where it can sit and how it performs. A bad placement decision can lead to drainage issues, poor airflow, difficult door operation, or expensive relocation after delivery. That is why site planning matters just as much as the container itself.
What makes reefer placement different
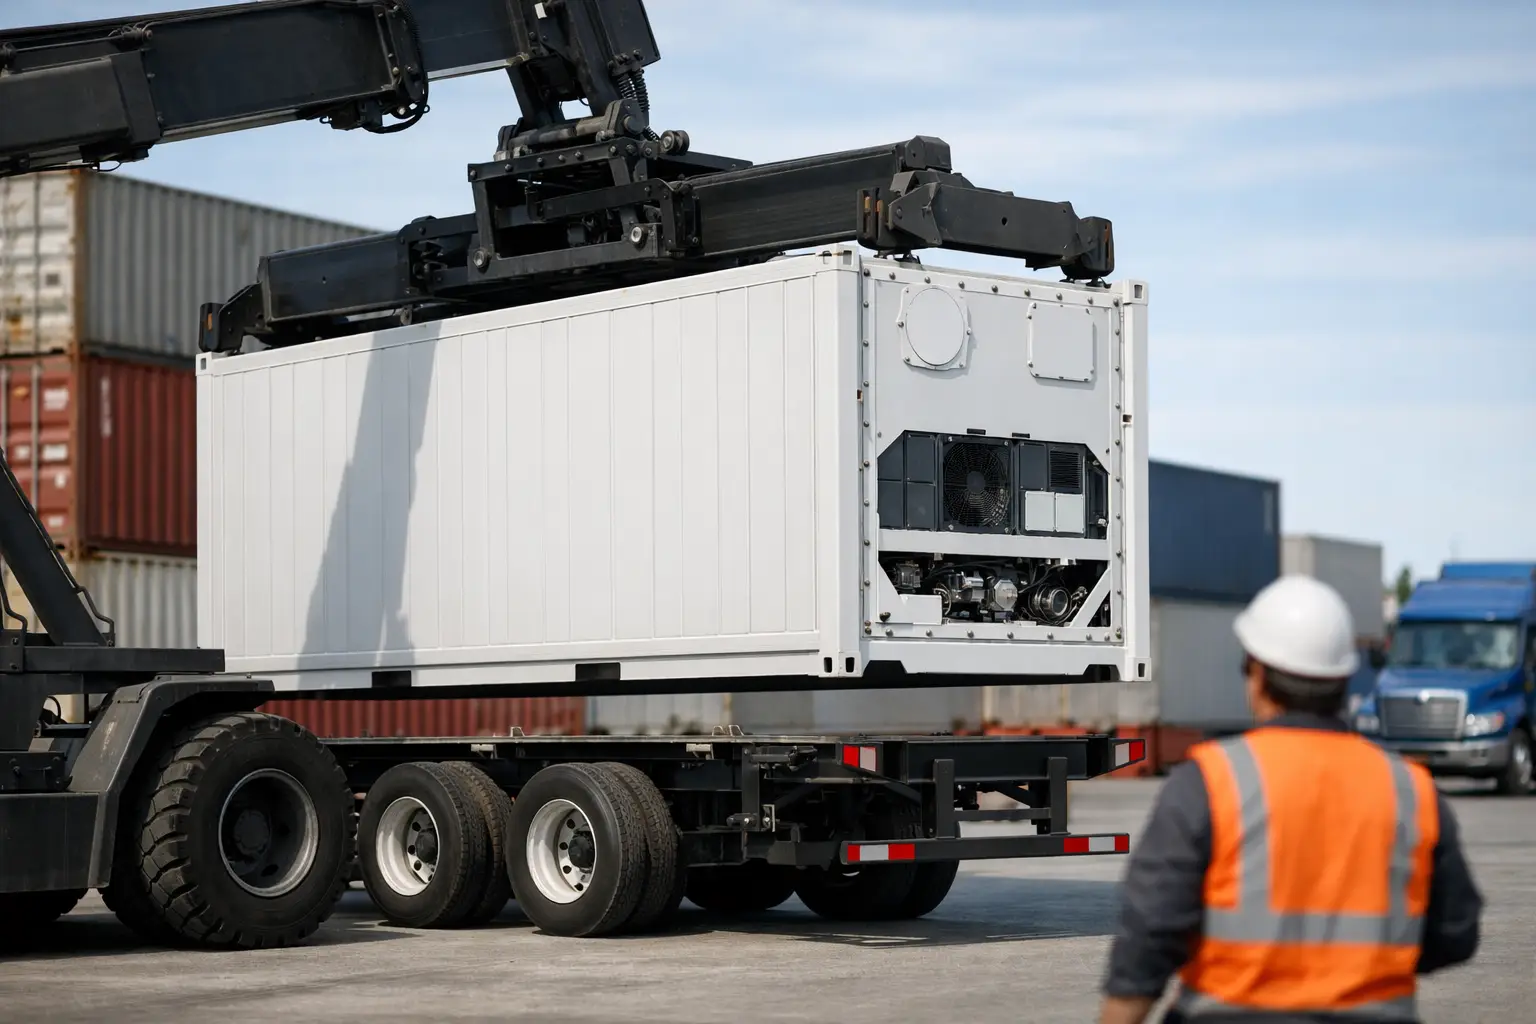
A refrigerated container is still a steel ISO container, but it is not just a box. It has an integrated refrigeration unit, insulated interior walls, and a floor design intended to move cold air through the cargo space. That means placement has to account for more than level ground and truck access.
The refrigeration unit needs consistent power and room to breathe. The container also needs to sit in a position that supports full structural weight across its corner castings and frame. If the site is uneven or soft, the unit can twist slightly, which may affect door alignment, gasket sealing, and long-term structural integrity.
For contractors and agricultural operators, the biggest mistake is treating a reefer like a standard laydown container. For homeowners, the biggest mistake is underestimating delivery clearance and power requirements. In both cases, the result is the same – delays, change orders, and extra handling costs.
Start with the surface, not the container
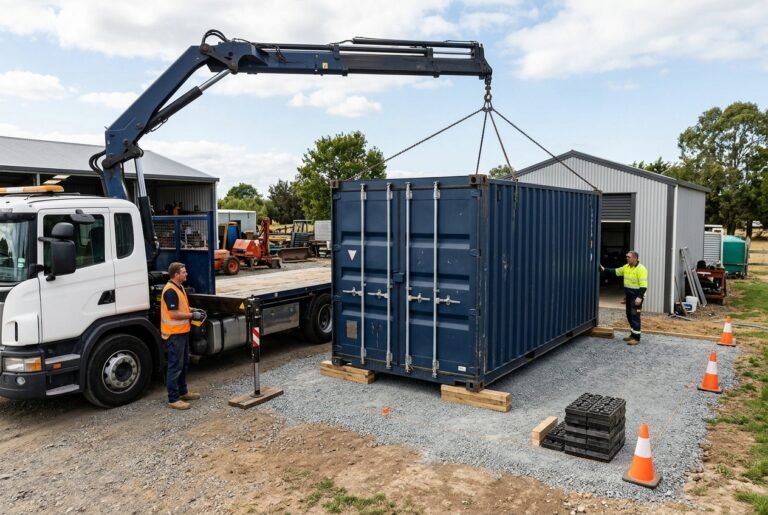
If you want to know how to place a reefer container correctly, begin with the pad. The best surface is a level, compacted base that can support the loaded weight of the container without settling. Concrete is ideal. Compacted gravel can work well too, especially for temporary or semi-permanent placements, as long as it is properly prepared and stays level under load.
Reefers are heavy even before product goes inside. Once loaded, concentrated weight and regular forklift traffic can expose weak spots quickly. Soft soil, fresh fill, wet grass, or asphalt that softens in heat can all create problems over time.
A simple rule helps here: support the container at the corners and keep the frame level. If the site has noticeable slope, do not assume the delivery driver can compensate for it during drop-off. A reefer should not be shimmed casually with scrap lumber or improvised blocks. If elevation is needed, use stable, load-rated supports and make sure all four corners are bearing correctly.
Concrete vs. gravel for reefer containers
Concrete gives the cleanest, most predictable result, especially for long-term use. It reduces settling, makes sanitation easier, and helps keep the unit stable for years. That matters for food-related operations, retail overflow, and any application where appearance and reliability count.
Compacted gravel is often the more practical option on farms, construction sites, and rural properties. It costs less upfront and drains well, but it has to be built correctly. Loose stone without compaction is not a real base. Over time, wheel ruts and corner settlement can put the reefer out of level.
Plan for delivery access before the truck arrives
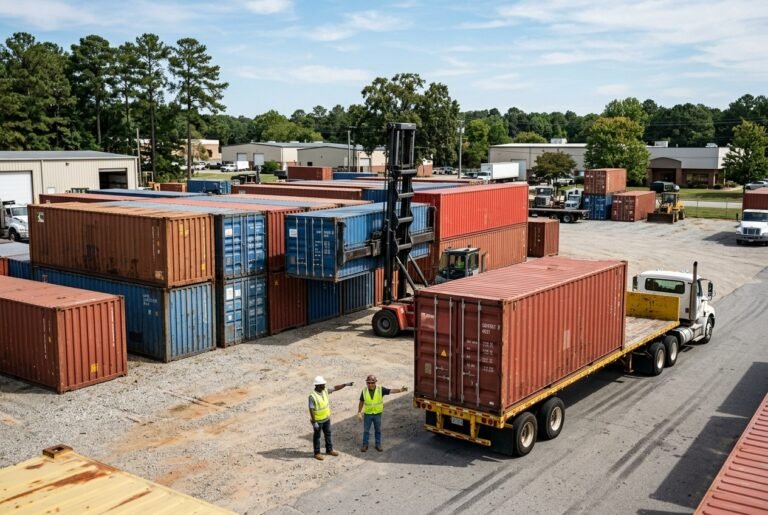
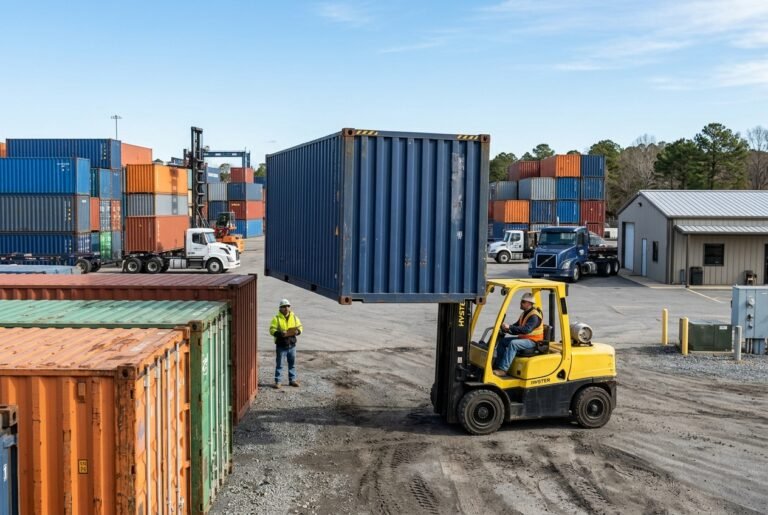
A reefer may fit in your available footprint and still be impossible to deliver cleanly. Delivery access has to account for truck length, turning radius, overhead clearance, and the space needed to unload.
Tilt-bed delivery is common for container drop-offs, and it requires more room than many buyers expect. The truck needs enough straight-line space to tilt the bed and slide the container into position. Low branches, power lines, fences, parked equipment, soft shoulders, and tight gates can all stop a delivery even when the final placement area looks fine.
Ground-level delivery setups also depend on site conditions and equipment. If the route into the site is muddy, sharply sloped, or too narrow, the safest option may be a different placement area or alternate unloading method. A reliable container supplier will ask for photos, measurements, and surface details in advance because that prevents expensive surprises on delivery day.
Clearance checks that matter
Before scheduling delivery, confirm gate width, vertical clearance, and approach path. Check not just the destination pad, but the entire route from the street to the set point. A tree limb that seems minor can become a major issue when a truck is carrying a 40-foot reefer at height.
Also consider how the doors will open after placement. A reefer set too close to a wall, fence, trailer, or dock can limit loading access and reduce the value of the unit. It is much cheaper to leave working space upfront than to pay for repositioning later.
Power is part of placement
This is where reefer projects often get complicated. The container needs a compatible power source, and the distance from that source affects both installation cost and daily reliability. Placement should be driven partly by where power can be delivered safely and efficiently.
Many reefer containers use 460V 3-phase power, though configurations can vary by unit and application. Buyers should always verify the exact electrical requirements for the specific container rather than assume a standard hookup. If your site does not already have suitable service, placement may need to be coordinated with an electrician, a phase converter plan, or a generator setup.
Long cable runs are usually a sign the unit is too far from the right location. They increase exposure to damage, create trip hazards, and may complicate weather protection. In most cases, the best reefer location is close enough to power for a clean, code-compliant connection, but far enough from walls and obstructions to maintain airflow and service access.
Leave room for airflow and maintenance
The refrigeration machinery needs ventilation. If the reefer unit is boxed into a tight alcove or pushed hard against other structures, hot discharge air can recirculate and reduce cooling performance. That can force the unit to work harder, increase energy use, and shorten component life.
Manufacturers vary on exact clearance recommendations, so the smart move is to follow the specifications for the specific reefer model. In practical terms, you want enough open space around the machinery end for airflow, inspection, and repair access. This is one of those details that gets overlooked when the site is crowded and everyone is focused on maximizing square footage.
Drainage matters too. A reefer should not sit where water pools under the frame or around the machinery compartment. Standing water can create corrosion issues, muddy service conditions, and frozen surface hazards in colder climates.
Think about daily use, not just day-one placement
A reefer that is technically deliverable and powered may still be poorly placed if it slows down operations. On a construction site, that might mean forklifts making awkward turns or backing across active traffic paths. On a farm, it might mean placing the container too far from product handling areas. For retail overflow, it could mean blocking customer visibility or receiving access.
Placement should match the way the unit will be used every day. Consider door swing, pallet movement, night access, lighting, washdown needs, and the path workers will actually take. If the reefer will be loaded frequently, put it where forklifts and pallet jacks can approach on stable ground without crossing mud, gravel wash, or uneven transitions.
For homeowners using a reefer as specialty storage or as part of a larger build, appearance may also matter. In that case, placement often becomes a balance between function and sightlines. Hiding the unit behind a building may improve aesthetics, but if that creates ventilation or service issues, it is the wrong trade-off.
Common placement mistakes to avoid
The most common problems are predictable. The container is placed on unprepared ground and settles out of level. The owner focuses on footprint but ignores truck access. The reefer is dropped too far from proper power. The machinery end is crowded, and airflow suffers. Or the doors are pinned against a fence because nobody accounted for swing clearance.
Another common mistake is planning for an empty reefer instead of a working one. Once pallets, workers, cords, ramps, and service visits are part of the picture, tight sites get tighter fast. A good placement plan leaves room for the unit to function, not just room for it to exist.
If you are unsure, it is worth getting a site review before delivery. A transparent container provider should be willing to discuss pad prep, access, unloading method, and electrical constraints in plain terms. That is how you avoid fine-print costs and last-minute changes.
When placement should change the buying decision
Sometimes the right answer is not just where to put the reefer, but which reefer to buy. A 20-foot unit may be the better fit if access is tight or if power infrastructure is limited. A used reefer may work well for static cold storage, but only if the site setup supports reliable operation. If appearance matters for public-facing commercial use, container condition and final orientation matter more than buyers often expect.
This is where experience helps. Lease Lane Containers works with buyers who need straight answers on delivery logistics, site prep, and container condition before the truck is scheduled, not after the problem shows up.
The best reefer placement is usually the one that looks slightly overplanned on paper and completely uneventful on delivery day. That is a good outcome. Cold storage should create control, not another operational headache.