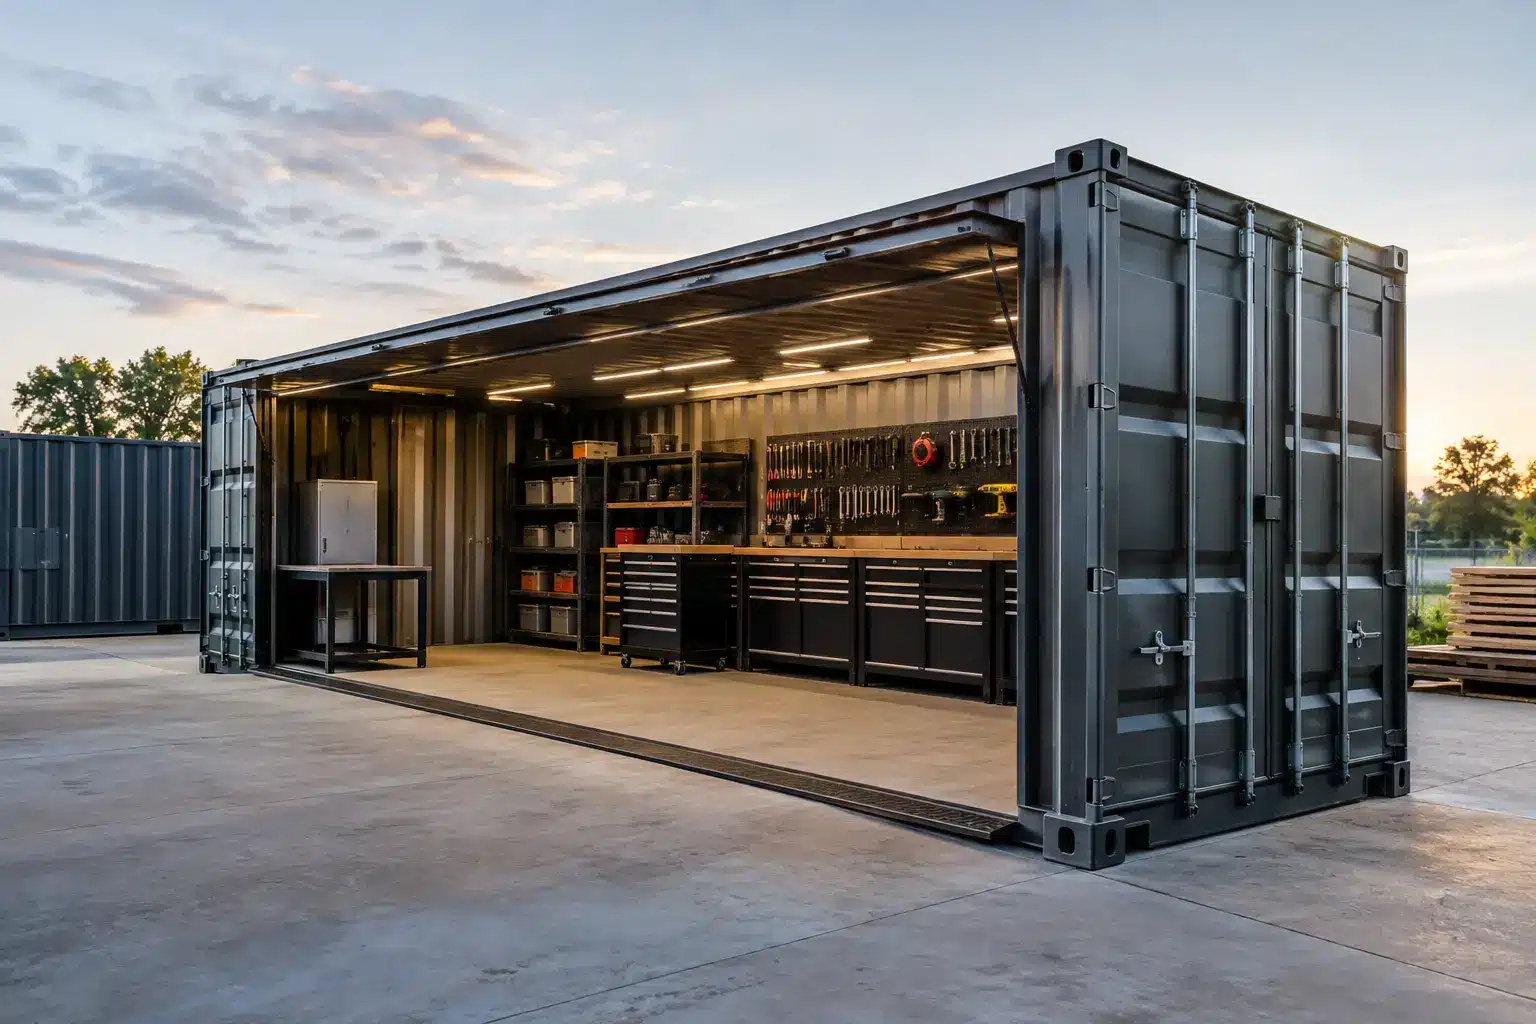
Best Container Upgrades for Productive Workshops
A shipping container can keep tools dry on day one, but a productive workspace requires more than a Wind & Watertight box. The best container upgrades for workshops depend on what happens inside: welding and fabrication, small-engine repair, woodworking, equipment maintenance, or a clean assembly area. The right improvements protect your tools, make the space safer to occupy, and prevent expensive rework after the container is delivered.
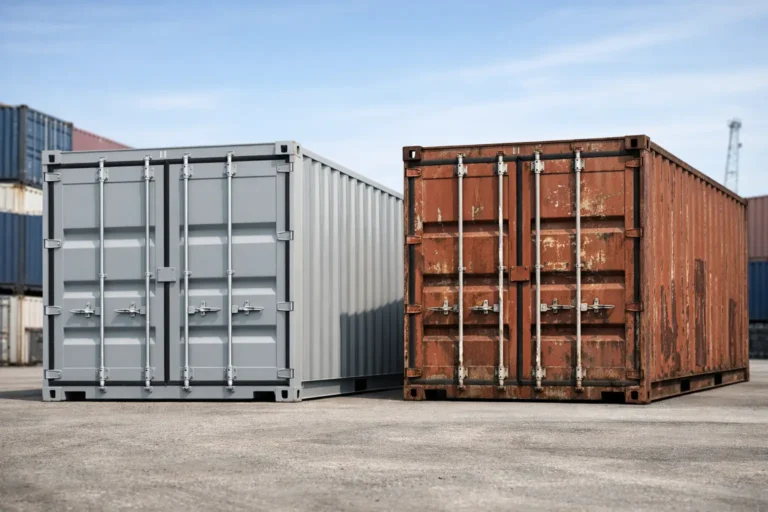
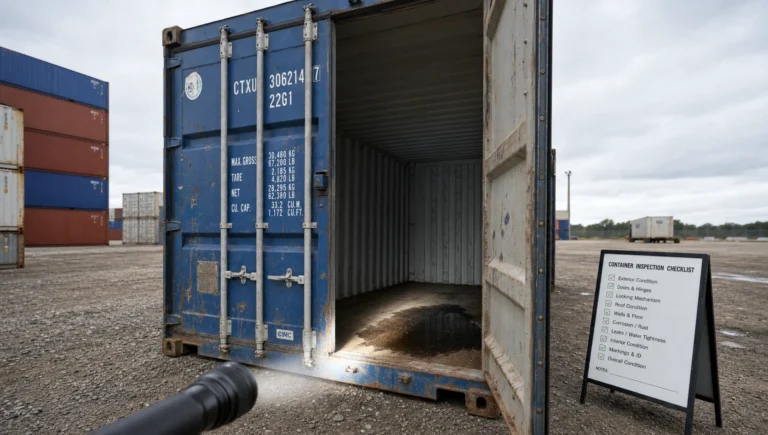
A good build starts with the container itself. For a workshop, a structurally sound used Cargo Worthy unit or a one-trip container is usually the practical choice. A lower-grade storage container may cost less upfront, but corrosion, door issues, and floor damage can turn into upgrade costs quickly. Verify the unit’s condition, interior dimensions, and delivery access before committing to modifications.
Start With Layout and Container Size
Before choosing upgrades, determine whether the container will be a storage-supported workshop or the primary work area. A 20-foot container provides a compact, secure space for a workbench, shelving, and hand tools. It works well on residential properties, small job sites, and farms where space is limited. The trade-off is aisle clearance. Once a bench, cabinets, and larger equipment are installed, the interior can feel tight.
A 40-foot container offers substantially more room for dedicated zones, such as a fabrication bench at one end and material storage at the other. A 40-foot high-cube unit adds roughly one extra foot of interior height, which matters for overhead storage, tall machinery, better air circulation, and a less confined working environment. High-cube containers are often worth considering when the workshop will be used regularly rather than occasionally.
Plan the work flow before cutting steel. Identify where equipment enters, where materials are stored, where people stand while working, and how extension cords or compressed-air lines will run. Moving a workbench is easy. Relocating a newly cut personnel door or electrical panel is not.
Best Container Upgrades for Workshops: Insulation and Interior Walls
Bare Corten steel conducts heat quickly. In North Carolina summers, or in any region with strong sun exposure, an uninsulated container can become uncomfortable long before noon. In colder climates, interior condensation can form when warm, humid air contacts cold steel walls and ceilings. That moisture is a problem for power tools, stored lumber, electrical components, and finished materials.
Closed-cell spray foam is often the strongest all-around insulation choice for a container workshop. It conforms to the corrugated walls, limits air movement, and helps reduce condensation. It also takes up less interior space than framed batt insulation. The higher initial cost can be justified for a workshop with climate control, sensitive tools, or regular year-round use.
Rigid foam panels with a framed interior wall can also work well, particularly when the goal is a finished appearance with plywood or drywall over the top. This approach gives you a cavity for wiring and makes it easier to mount cabinets, wall organizers, and outlets. It requires careful detailing, though. Gaps at seams, roof connections, and around openings can allow condensation or heat gain to continue behind the finished wall.
For a basic tool-storage workshop that will not be heated or cooled, full insulation may not be necessary. In that case, prioritize roof protection, ventilation, and a light-colored exterior coating to reduce solar heat. The best choice depends on the container’s climate, orientation, and expected hours of use.
Electrical Service Should Match the Tools
Electrical service is one upgrade that should be planned early. A few LED fixtures and battery chargers have very different demands than a welder, air compressor, dust collector, or 240-volt machinery. List the equipment you expect to run at the same time, then have a qualified electrician size the service, panel, breakers, receptacles, and grounding system accordingly.
For many light-duty workshops, a properly installed 120-volt circuit layout with multiple outlets is sufficient. Place outlets above workbench height and near each planned equipment location. This reduces the need for long extension cords across the floor. For heavier-duty applications, 240-volt service and dedicated circuits may be appropriate.
LED lighting is a straightforward upgrade with a high practical return. Bright, evenly spaced fixtures improve precision work and reduce shadows around benches and shelving. Add task lighting at the main bench rather than relying only on overhead fixtures. Exterior lighting near the doors is also useful for early starts, late deliveries, and job-site security.
Electrical work should meet applicable local code and permitting requirements. Cutting corners on service sizing or grounding can create a safety issue and complicate insurance or future property improvements. Clear specifications upfront are less expensive than correcting an undersized system later.
Ventilation Is Essential for Real Shop Work
A container is designed to seal cargo from outside weather. That is useful for storage, but it means heat, moisture, fumes, and airborne dust can build up quickly in a workshop. Passive vents may be enough for basic storage, yet they are not a replacement for mechanical ventilation when working with paint, solvents, fuel, welding fumes, or woodworking dust.
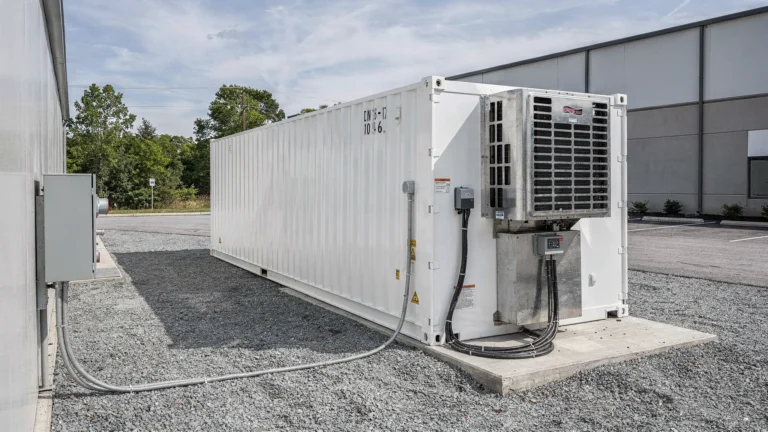
A roof-mounted or wall-mounted exhaust fan, paired with a louvered intake vent, creates a controlled path for air movement. Position the intake and exhaust to pull air across the work zone rather than short-circuiting airflow near one wall. If you use a portable air conditioner or mini-split system, ventilation still matters. Cooling the room does not remove fumes or fine dust.
For welding, grinding, finishing, or other higher-risk work, consider source capture equipment and review fire-safety requirements before the container is placed. A shipping container is steel, but the interior contents, insulation, coatings, and stored materials may not be. Keep flammables segregated and provide suitable fire extinguishers for the work being performed.
Upgrade Access Without Weakening Security
The original cargo doors are durable and useful for moving in large equipment, palletized supplies, or sheet goods. Most workshop owners should keep them operational. A separate personnel door is one of the most useful convenience upgrades because it allows daily entry without opening the full cargo doors.
Any new opening needs proper steel reinforcement. The corrugated container walls contribute to the structure, so removing a large section for a door, window, or roll-up door without a designed frame can compromise rigidity. A properly framed opening protects the container and gives the installed door a stable mounting surface.
Windows bring natural light and improve the work environment, but they introduce security and weatherproofing considerations. Fixed, high-mounted windows are often a sensible compromise. They bring in daylight while keeping valuable tools less visible from outside. For job sites or remote properties, use secure frames, protective bars or shutters where appropriate, and quality locks on both personnel and cargo doors.
A roll-up door can be worthwhile if the workshop needs frequent access for ATVs, mowers, compact equipment, or material carts. It is not automatically the best choice. It costs more, requires structural framing, and removes wall area that could otherwise hold a workbench or storage system. Measure the equipment and operating clearance before selecting the opening size.
Floors, Storage, and Work Surfaces
Most shipping containers have marine-grade plywood floors designed for cargo service. They are durable, but they may show stains, repairs, or wear in used units. Inspect the floor before purchase, especially if the workshop will hold heavy equipment or chemicals. If appearance, cleanability, or chemical resistance matters, apply an appropriate floor coating after addressing any damaged sections.
Avoid trapping moisture under mats or flooring systems. A simple sealed floor is often easier to maintain than a more decorative finish. For metalworking or equipment repair, use designated protective pads under heavy tools and drip trays where fluids may be present.
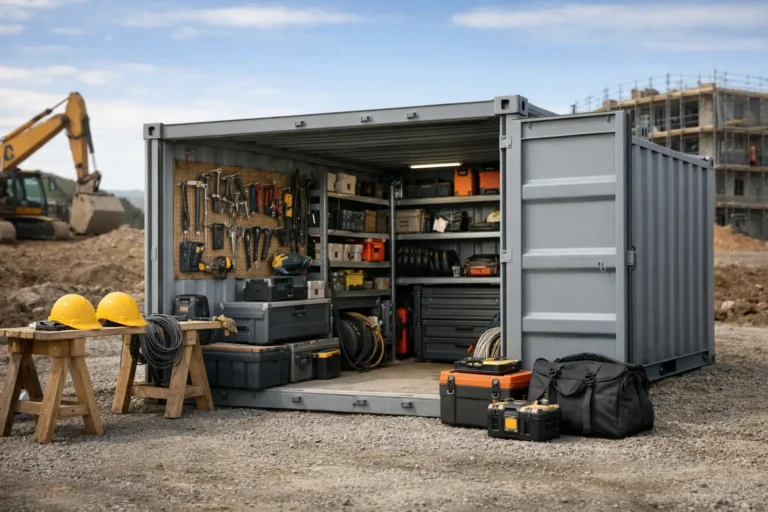
Wall-mounted shelving, pegboard panels, and steel cabinets make a container workshop far more usable, but secure them to framing or properly designed attachment points. The corrugated steel skin alone is not ideal for every load. Keep heavy items low and distribute weight along the length of the container rather than concentrating it at one point.
Plan Upgrades Before Delivery
Some upgrades are easier and more cost-effective before the container reaches your property. This is especially true for cutting openings, applying coatings, installing insulation, and routing major electrical components. It also allows the delivery plan to account for the finished container’s orientation. If the personnel door needs to face a driveway or work yard, that must be established before a tilt-bed or ground-level delivery is scheduled.
Prepare a stable, level site with adequate clearance for the delivery truck and the container’s final placement. The surface does not always need a full concrete slab, but it must support the unit evenly and allow the cargo doors to operate correctly. Poor support can lead to door binding, standing water, and long-term frame stress.
The most useful workshop upgrades are the ones that match the actual work, not a generic feature list. Start with container condition, site access, power demand, ventilation, and security. Once those fundamentals are specified clearly, the finished workshop can provide durable, organized space without hidden corrections after delivery.