How to Insulate Container Walls Without Trapping Moisture
A steel shipping container can look like a ready-made workshop, office, or storage shell, but bare Corten steel transfers heat quickly. That is why learning how to insulate container walls correctly is less about adding the thickest material and more about controlling moisture, air movement, and thermal bridging from the start.
For a job-site storage container, insulation may be unnecessary. For a conditioned office, workshop, retail space, or residential conversion, it is a core part of the build. The wrong approach can conceal rust, create wet framing, and reduce usable interior width. The right approach protects the container and gives the finished space predictable year-round performance.
Start With a Dry, Structurally Sound Container
Insulation should not be used to cover container problems. Before framing or spraying foam, inspect the roof seams, corner castings, door gaskets, floor, and wall panels for leaks, corrosion, or prior repairs. A Wind & Watertight container should keep rain out, but it is still wise to verify its condition before enclosing the interior.
Pay particular attention to the roof. Small leaks can travel along corrugations and show up far from their entry point. Address dents that hold standing water, damaged sealant, or deteriorated roof coatings first. Once insulation and wall finishes are installed, identifying a leak becomes slower and more expensive.
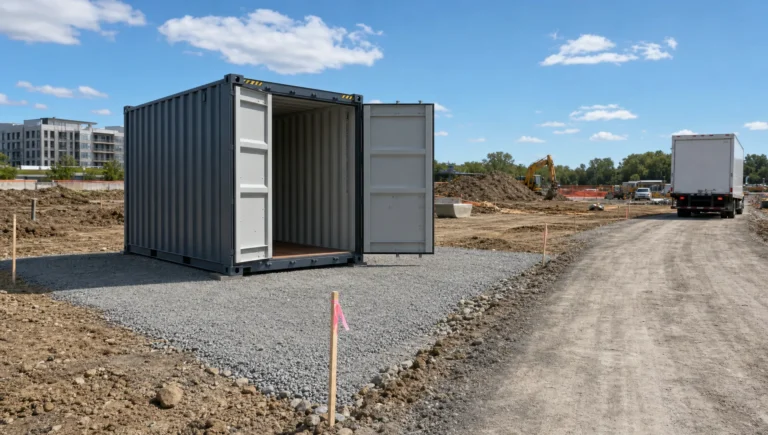
If the container will be placed on a permanent site, provide proper support and drainage. Keep the unit level, support it at the corner castings or on an engineered foundation, and avoid locations where water collects beneath the floor. Good site preparation reduces moisture exposure before interior work even begins.
Understand Why Containers Sweat
Steel has almost no insulating value. When warm, humid indoor air reaches a cold steel wall or ceiling, it can condense into water. This is commonly called container sweat. It is most likely during temperature swings, in humid climates, and in buildings that are heated or cooled regularly.
Condensation is not solved by insulation alone. The insulation assembly must limit warm interior air from reaching the steel. It must also avoid leaving gaps behind panels, around framing, and at roof-to-wall transitions. A few unsealed areas can become cold spots where moisture continues to form out of sight.
Thermal bridging matters as well. Steel framing members, uninsulated container ribs, and fasteners can carry outdoor temperatures through the wall assembly. The goal is to create as continuous an insulation layer as practical, especially over the ceiling and roof area where solar heat gain is greatest.
Best Materials for Insulating a Shipping Container
The best insulation depends on the intended use, climate, budget, and available interior space. A container used as a lightly conditioned equipment room needs a different assembly than a finished office or small dwelling.
Closed-Cell Spray Foam
Closed-cell spray foam is often the most effective option for container interiors because it adheres directly to steel, fills corrugations, and functions as insulation, an air barrier, and a moisture-resistant layer. It also limits the voids that cause hidden condensation.
For many conditioned container projects, applying approximately 2 to 3 inches of closed-cell foam to walls and ceilings provides a practical starting point. Exact thickness should be selected for the local climate, intended temperature control, and applicable building code. The trade-off is cost. Professional spray foam installation is typically more expensive than board insulation, and it must be protected with an approved thermal barrier where code requires one.
Rigid Foam Board
Polyisocyanurate, XPS, and EPS foam boards can work well when installed carefully. They preserve more interior space than thick batt insulation and can provide continuous coverage across the corrugated steel surface.
The challenge is detailing. Boards need to fit tightly, seams need compatible tape or sealant, and perimeter gaps must be sealed with low-expansion foam. If a rigid board system leaves open channels behind the insulation, moist air can reach the steel and condense. Rigid board is best for projects where the installer is prepared to be precise around corrugations, framing, windows, and penetrations.
Mineral Wool or Fiberglass Batts
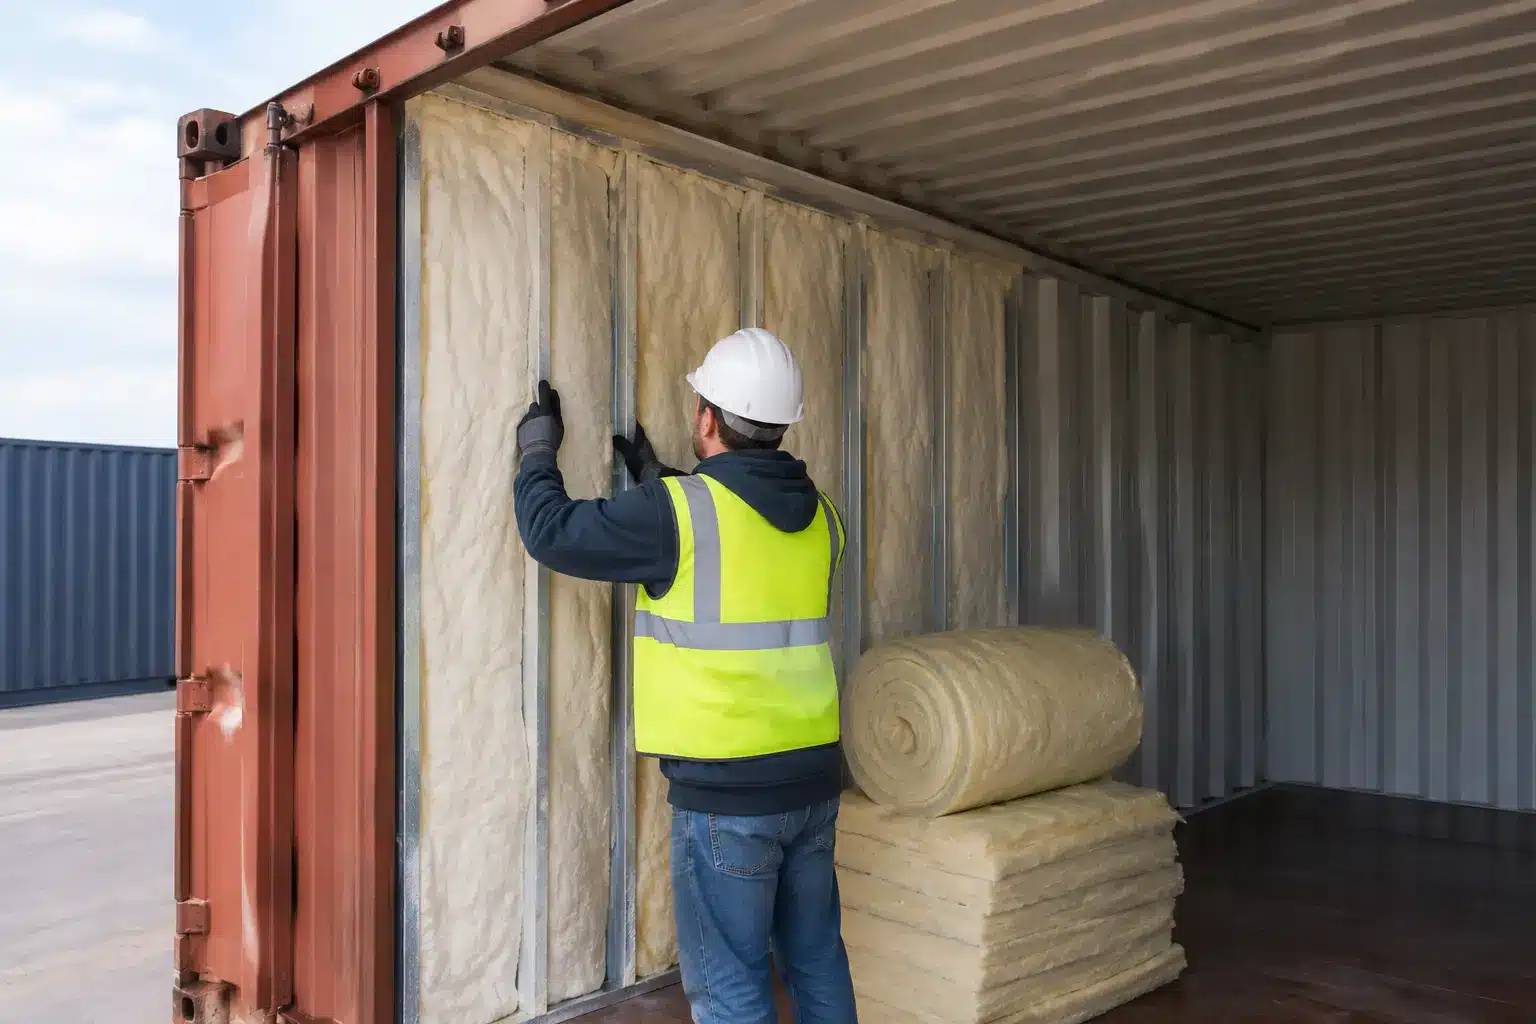
Mineral wool offers strong fire resistance and sound control, while fiberglass is familiar and widely available. Both can be useful within a framed interior wall, but neither should be pressed directly against container steel without a carefully designed air and vapor-control layer.
These materials do not stop air movement on their own. If warm interior air reaches the steel behind them, moisture can accumulate in the cavity. They are usually better as part of a hybrid assembly, such as a layer of closed-cell foam against the steel followed by interior framing and mineral wool for additional thermal and acoustic performance.
How to Insulate Container Walls and Ceilings
Begin with a clean, dry interior. Remove loose rust, treat corroded areas with an appropriate rust-inhibiting coating, and seal verified leaks before insulation starts. Plan all electrical conduits, plumbing paths, windows, vents, and HVAC penetrations in advance. Cutting through a finished insulated wall later creates unnecessary repair work and potential air leaks.
For spray foam, the installer applies foam directly to the steel walls and ceiling, including the corrugation valleys. After curing, the surface can be trimmed as needed and covered with framing, plywood, drywall, or another approved interior finish. Do not assume exposed foam is acceptable in an occupied space. Fire and building requirements vary, and many applications require a protective ignition or thermal barrier.
For rigid foam, use adhesive compatible with both steel and the selected foam product. Fit the boards tightly, seal all seams, and pay close attention to the container’s top rails, bottom rails, corner areas, and ceiling transitions. A continuous sealed layer is more valuable than adding extra thickness with unsealed joints.
Ceilings deserve priority. In a container exposed to full sun, the roof can become the primary source of heat gain. Interior ceiling insulation helps, but an exterior reflective roof coating, raised shade structure, or secondary roof can reduce the heat load before it reaches the steel. For hot Southeast summers, this combination can make HVAC sizing and comfort far more manageable.
Do Not Skip the Floor
Most standard dry shipping containers have marine-grade plywood floors mounted over steel cross members. These floors are durable, but they are not highly insulated. If the container sits above open air or is used as a conditioned office or living space, floor insulation can make a noticeable difference.
One approach is to install rigid foam above the existing floor, then add plywood or another durable subfloor. This is straightforward but reduces interior headroom. Another is insulating below the container during foundation work, which preserves interior height but requires access, protection from pests and weather, and a well-planned support system.
Avoid removing an existing container floor without understanding its condition and treatment history. Older units may have flooring that requires special handling. For conversions involving regular occupancy, consult qualified local professionals on floor replacement, insulation, and code requirements.
Frame Carefully and Preserve Usable Space
A 20-foot standard container is only about 7 feet 8 inches wide inside before insulation and finishes. Heavy framing on both sidewalls can make the space feel narrow quickly. This is one reason direct-applied spray foam or thin continuous rigid insulation is often preferred in compact builds.
Use nonstructural interior framing unless an engineer has designed otherwise. Container corrugated walls, top rails, bottom rails, and corner posts are part of the structural system. Cutting large openings for doors or windows, welding attachments, or altering load-bearing elements may require reinforcement and professional engineering.
When fastening interior components, avoid creating unnecessary penetrations through the exterior shell. Every hole is a potential water path. If penetrations are required, use compatible sealants and verify the exterior detail before closing the wall.
Ventilation Still Matters
A well-insulated container is tighter than an uninsulated one. That improves efficiency, but it also means humidity from people, tools, drying materials, bathrooms, or cooking can remain indoors. Insulation is not a substitute for ventilation.
A workshop may only need controlled passive vents and occasional exhaust. A finished office, pop-up retail space, or living conversion may need mechanical ventilation, a properly sized mini-split, exhaust fans, or dehumidification. The correct setup depends on occupancy and climate. In humid regions, managing indoor humidity is often as important as selecting the insulation R-value.
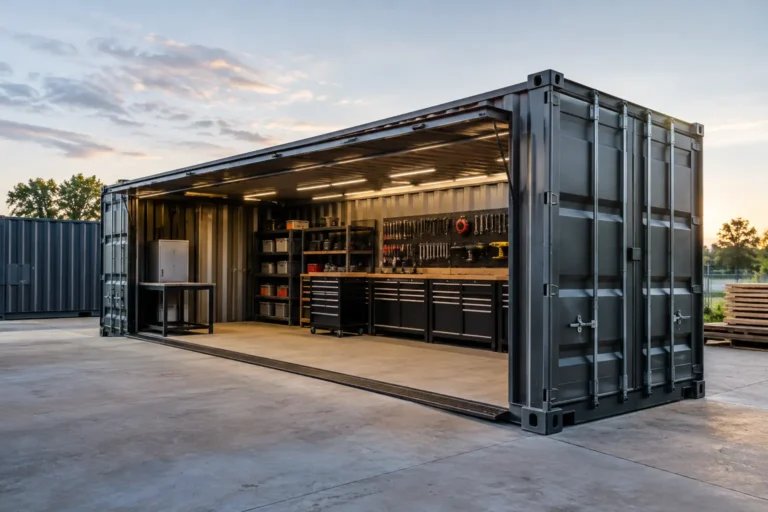
For secure storage, consider whether temperature control is truly needed before insulating. A ventilated Wind & Watertight container can protect tools and materials without the added cost, lost interior space, and maintenance demands of a fully insulated build.
Match the Insulation Plan to the Container’s Job
A one-trip container offers a cleaner interior and fewer cosmetic repairs, which can simplify a finished conversion. A used Cargo Worthy or Wind & Watertight unit may be an excellent value for a workshop or storage project, provided its roof, doors, and floor are inspected and any repairs are completed before insulation.
The practical question is not simply which insulation has the highest R-value. It is whether the full assembly keeps moisture away from the steel, fits the available interior dimensions, supports the intended use, and can be finished safely. Plan those details before delivery and before the first wall is enclosed. That is how a container stays dry, durable, and useful long after the build is complete.